
下载解压
https://github.com/Wesley1999/oneindex/releases/download/OneIndex_v1.0.0/oneindex.zip
安装PHP
参考https://www.bunny.icu/archives/1300
已经安装的可以跳过这一步
安装Nginx
参考https://www.bunny.icu/archives/1069
已经安装的可以跳过这一步
Nginx配置反向代理
参考:
server {
    listen            443 ssl;
    server_name       cloud.bunny.icu;
    root              /usr/local/oneindex;
    location / {
        index index.php index.html index.htm;
    }
    if (!-f $request_filename) {
        set $rule_0 1$rule_0;
    }
    if (!-d $request_filename){
        set $rule_0 2$rule_0;
    }
    if ($rule_0 = "21"){
        rewrite ^/(.*)$ /index.php?/$1 last;
    }

    location ~ .php$ {
        fastcgi_pass   127.0.0.1:9000;
        fastcgi_index  index.php;
        fastcgi_param  SCRIPT_FILENAME  $document_root$fastcgi_script_name;
        include        fastcgi_params;
    }
}
配置完成后重新启动Nginx
nginx -s reload
初始化
访问你的域名,例如https://cloud.bunny.icu/
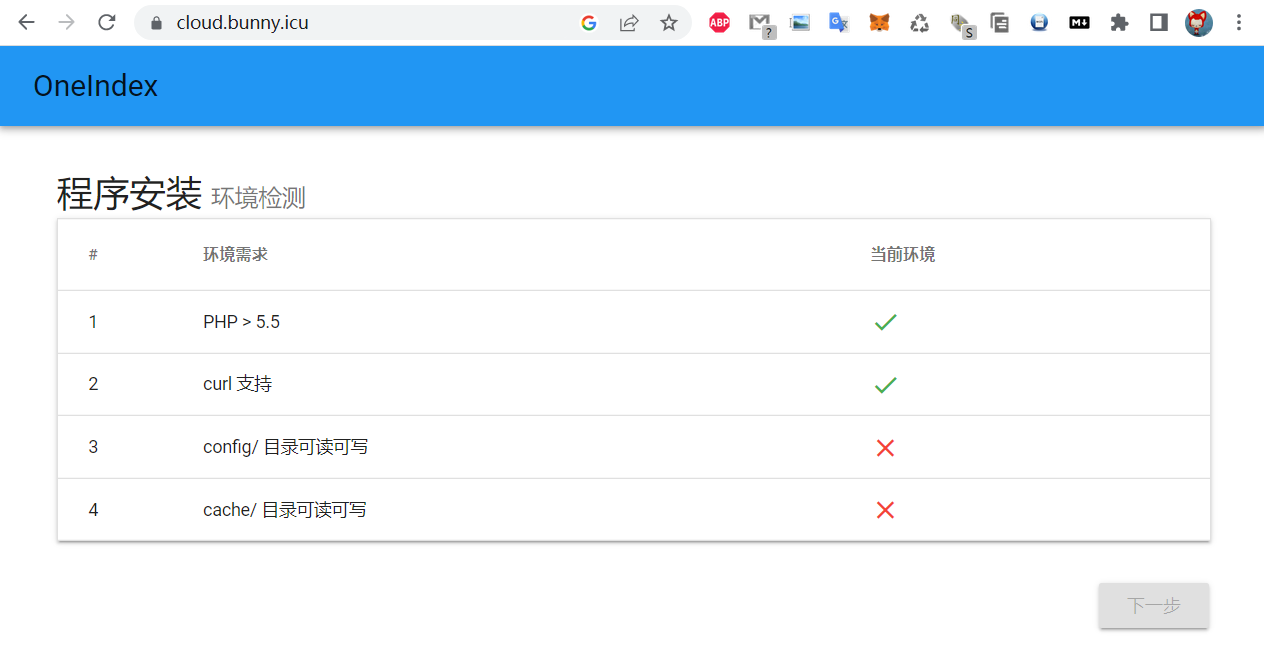
根据提示为oneindex目录下的config和cache目录添加读写权限
mkdir -p cache
mkdir -p config
chmod 666 cache/
chmod 666 config/
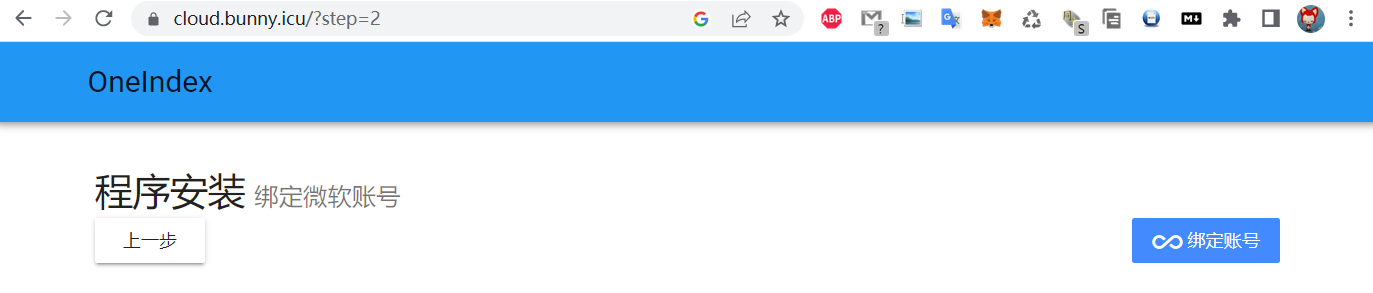
然后刷新页面点击下一步
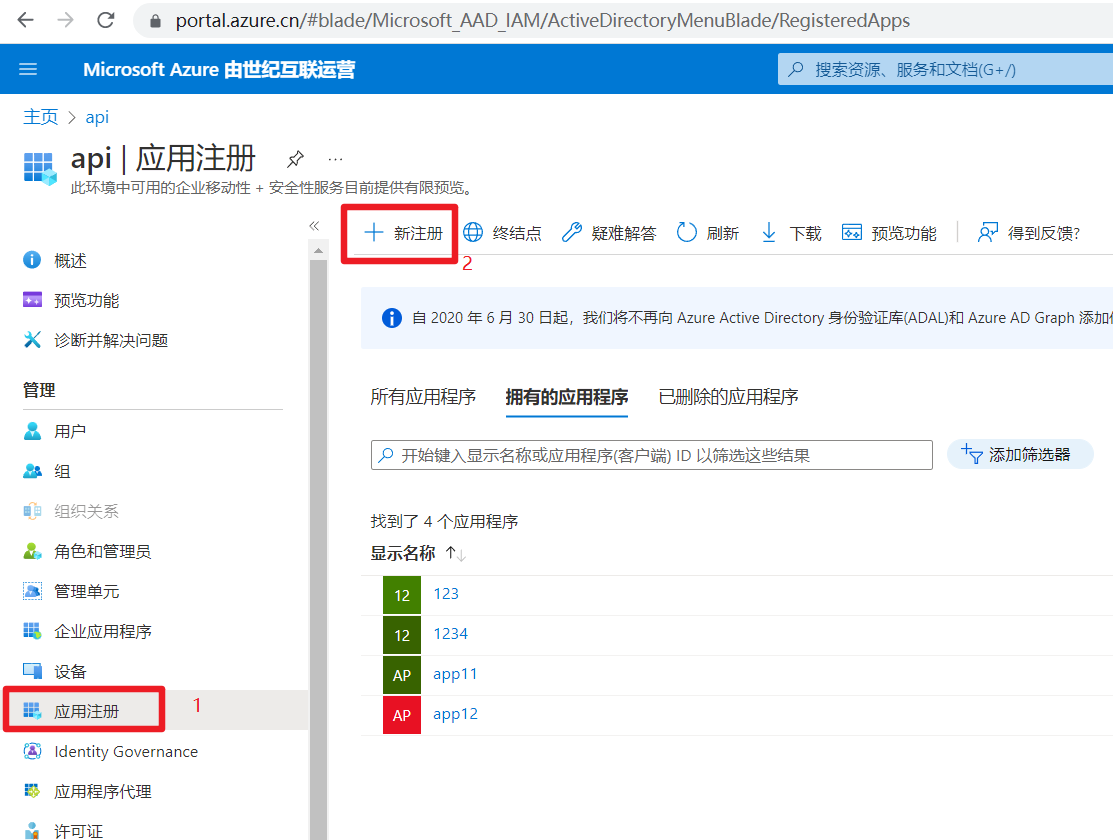
登录后点击左侧的应用注册,新注册一个应用
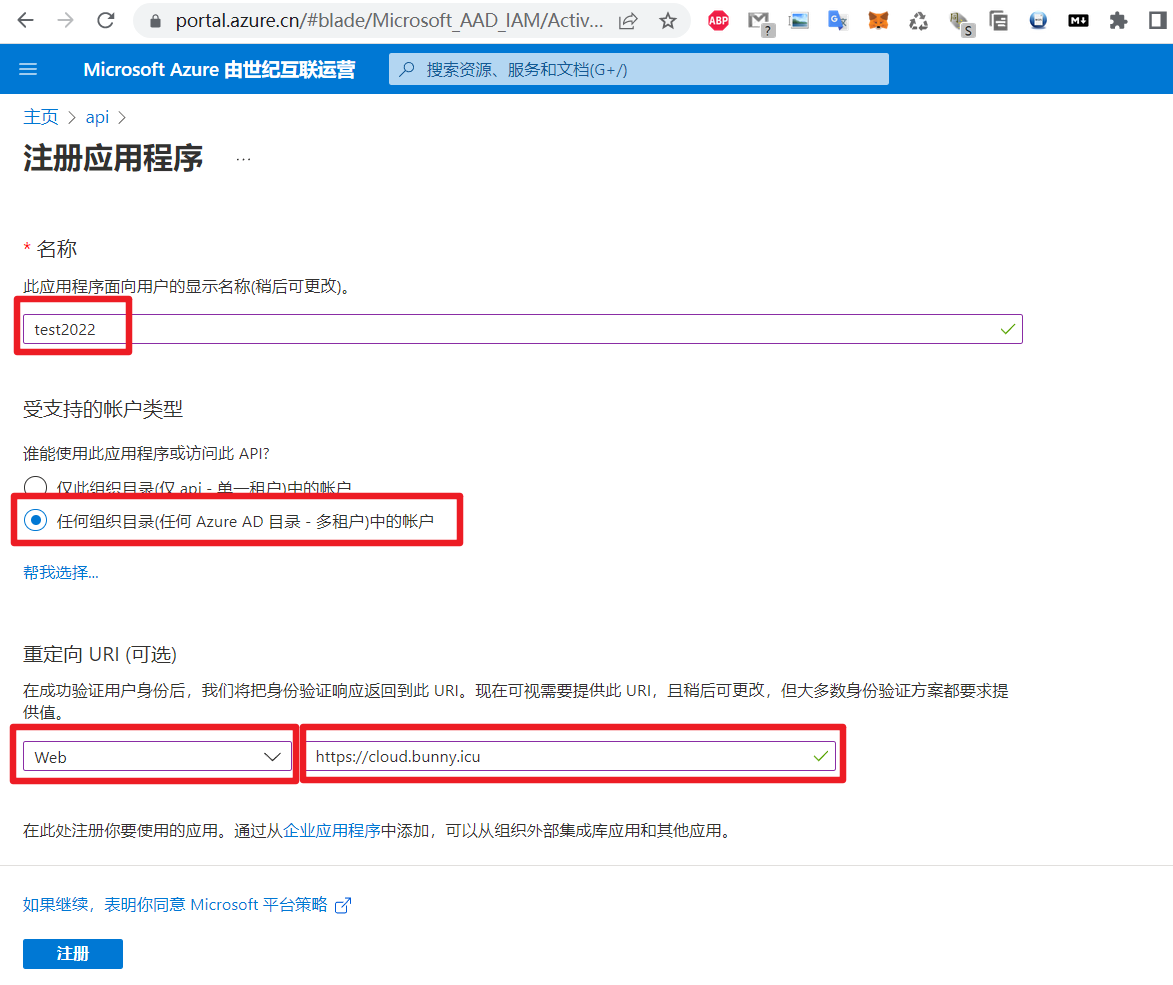
名称随便填,受支持的帐户类型选择任何组织目录(任何 Azure AD 目录 – 多租户)中的帐户,重定向URI选择Web,填写当前域名,例如https://cloud.bunny.icu
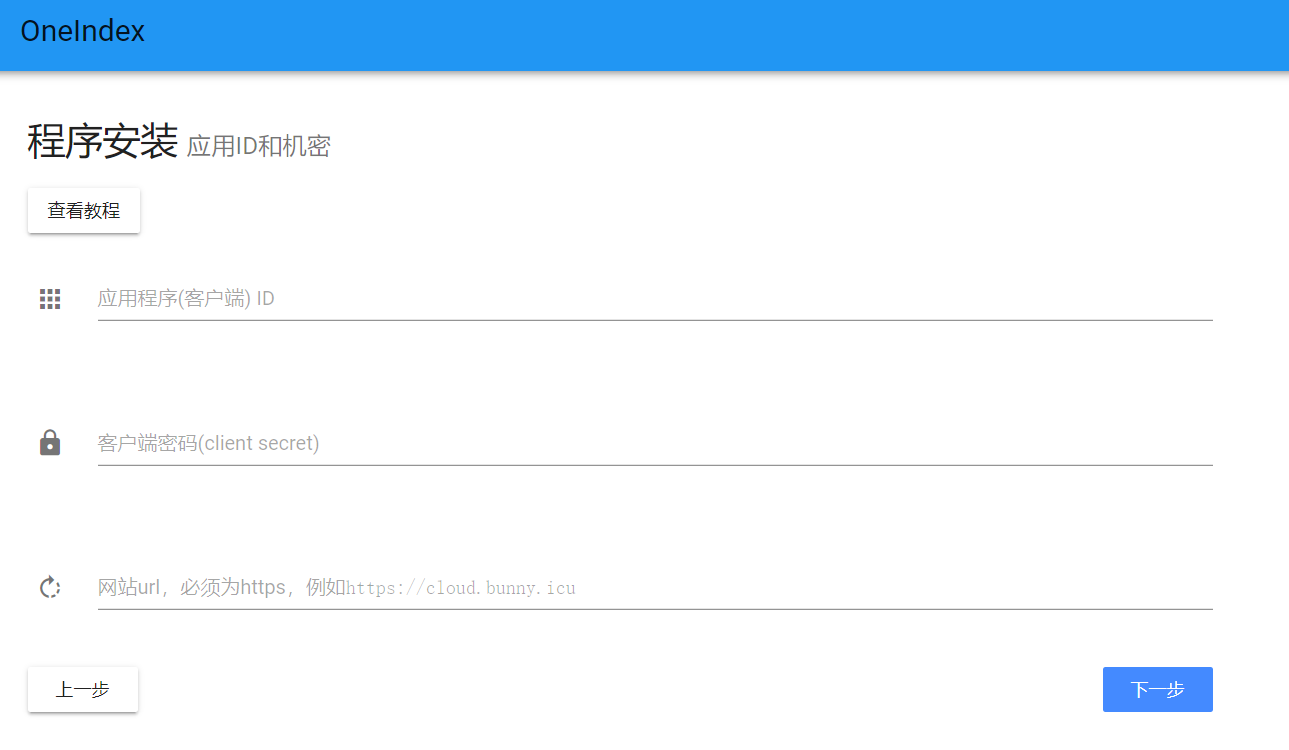
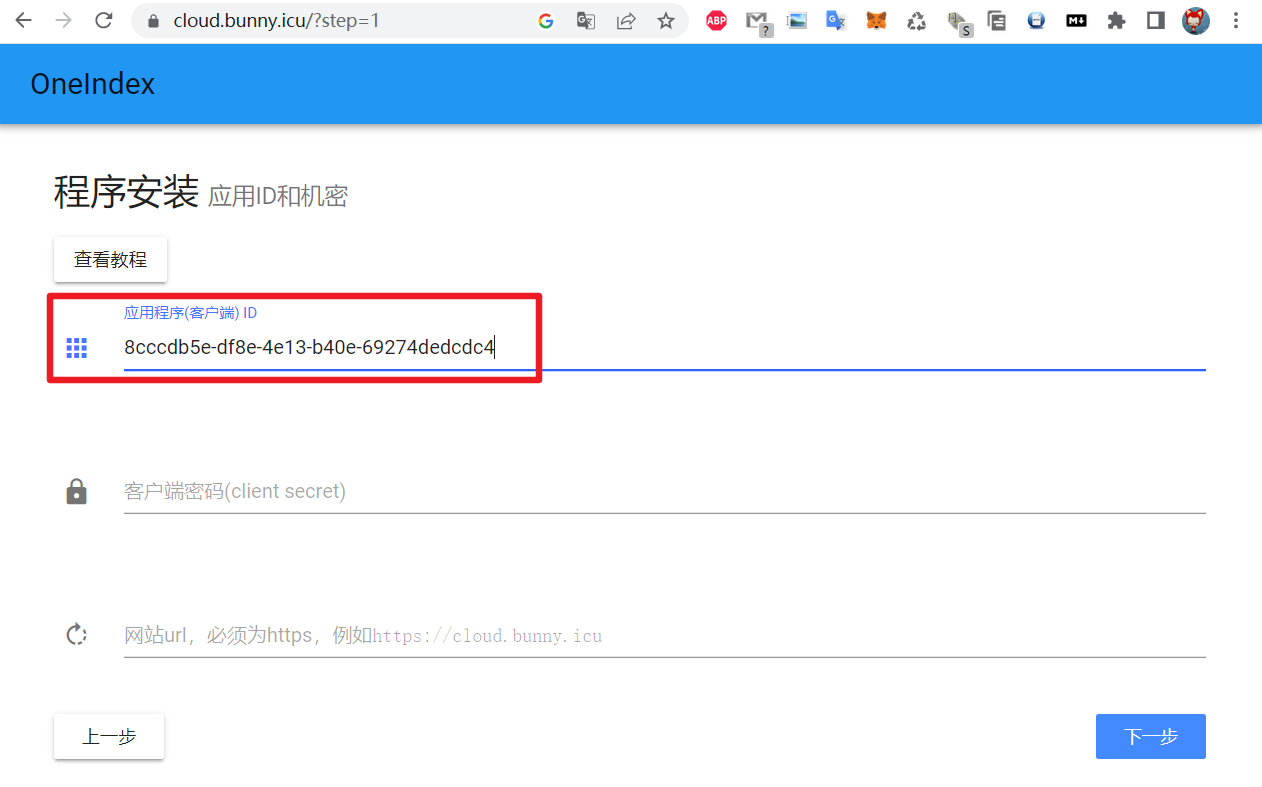
注册后得到应用程序(客户端) ID,格式类似8cccdb5e-df8e-4e13-b40e-69274dedcdc4,填入表单
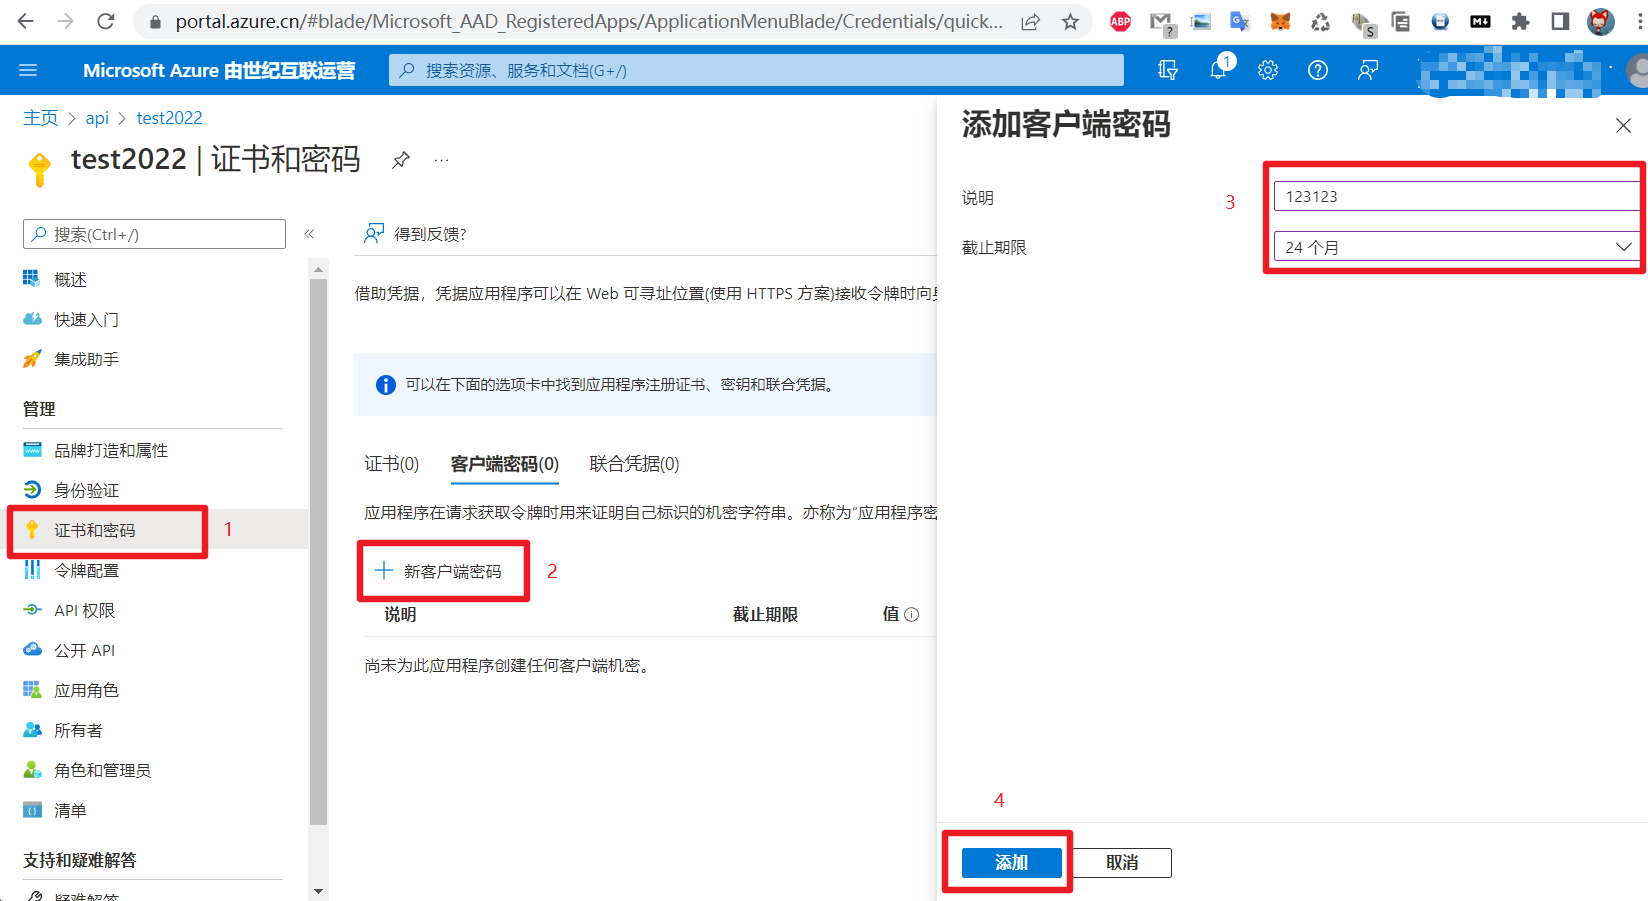
点击左侧的证书和密码,说明随便填,截止期限多数教程中建议填12个月,实测24个月也可以,添加。
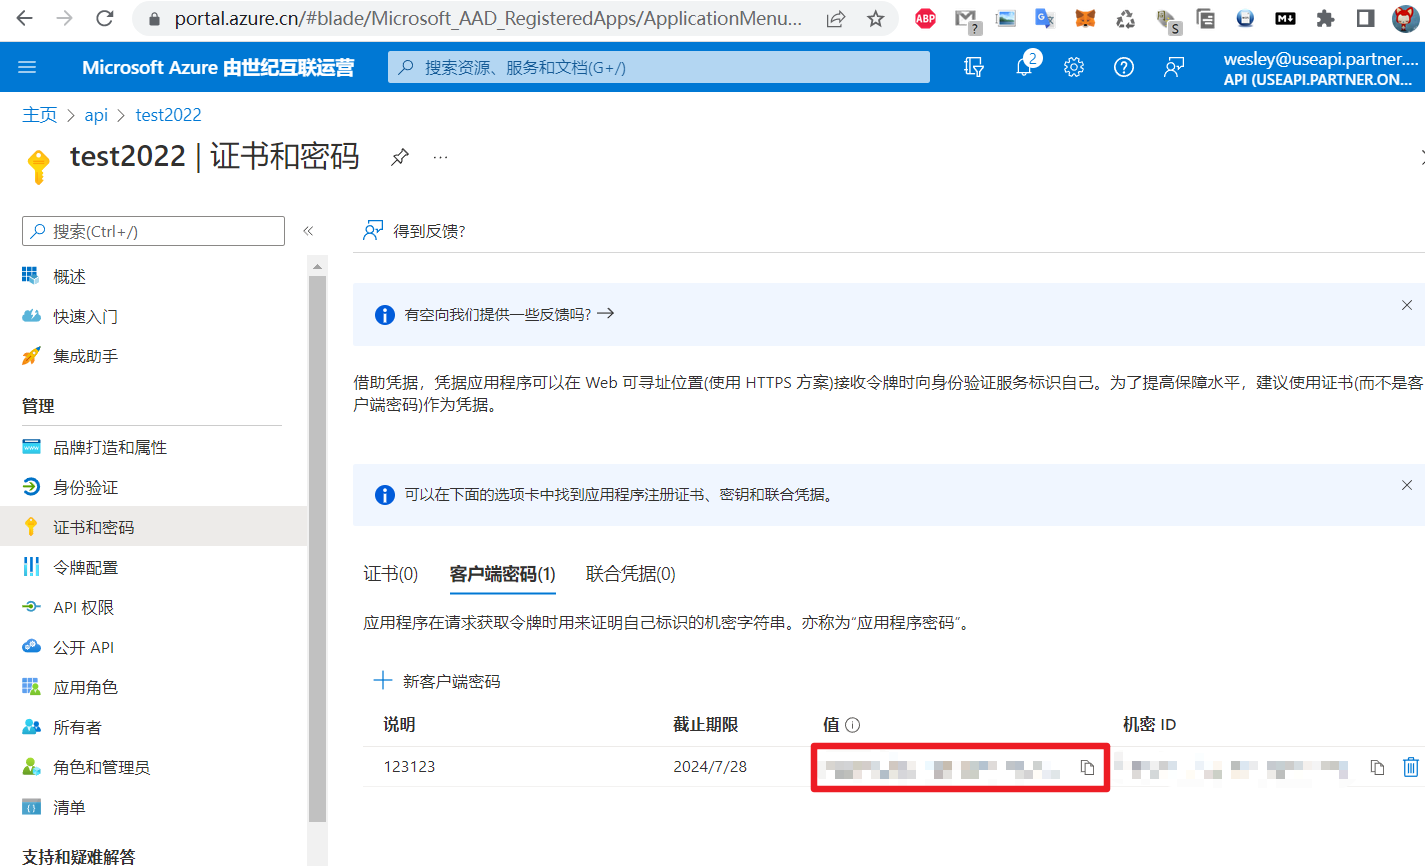
得到客户端密码,格式类似ZtDc.CItpteX~T4.f~8DyNkAxzJ1oW9KD6,填入表单
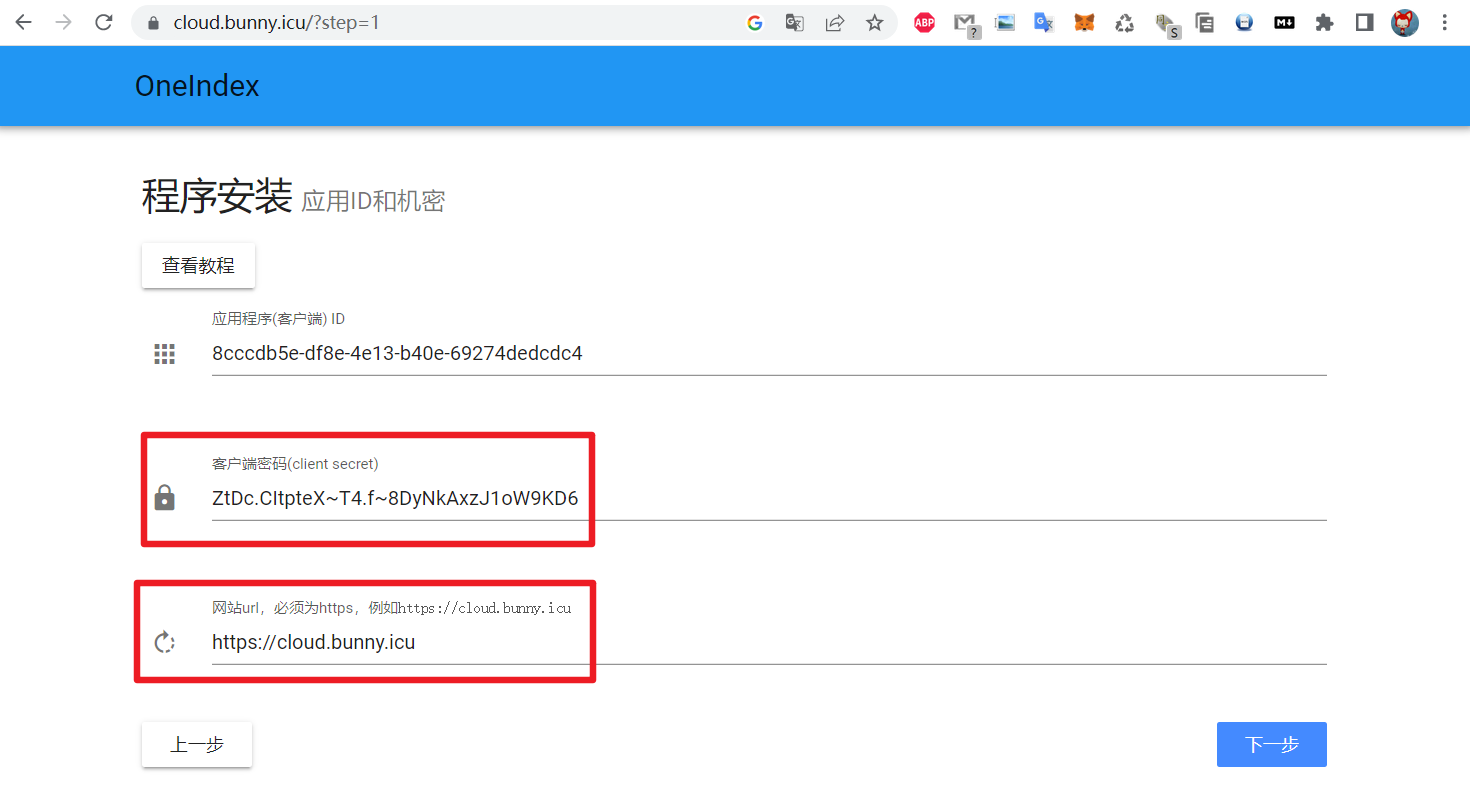
网站url填应用注册时填写的
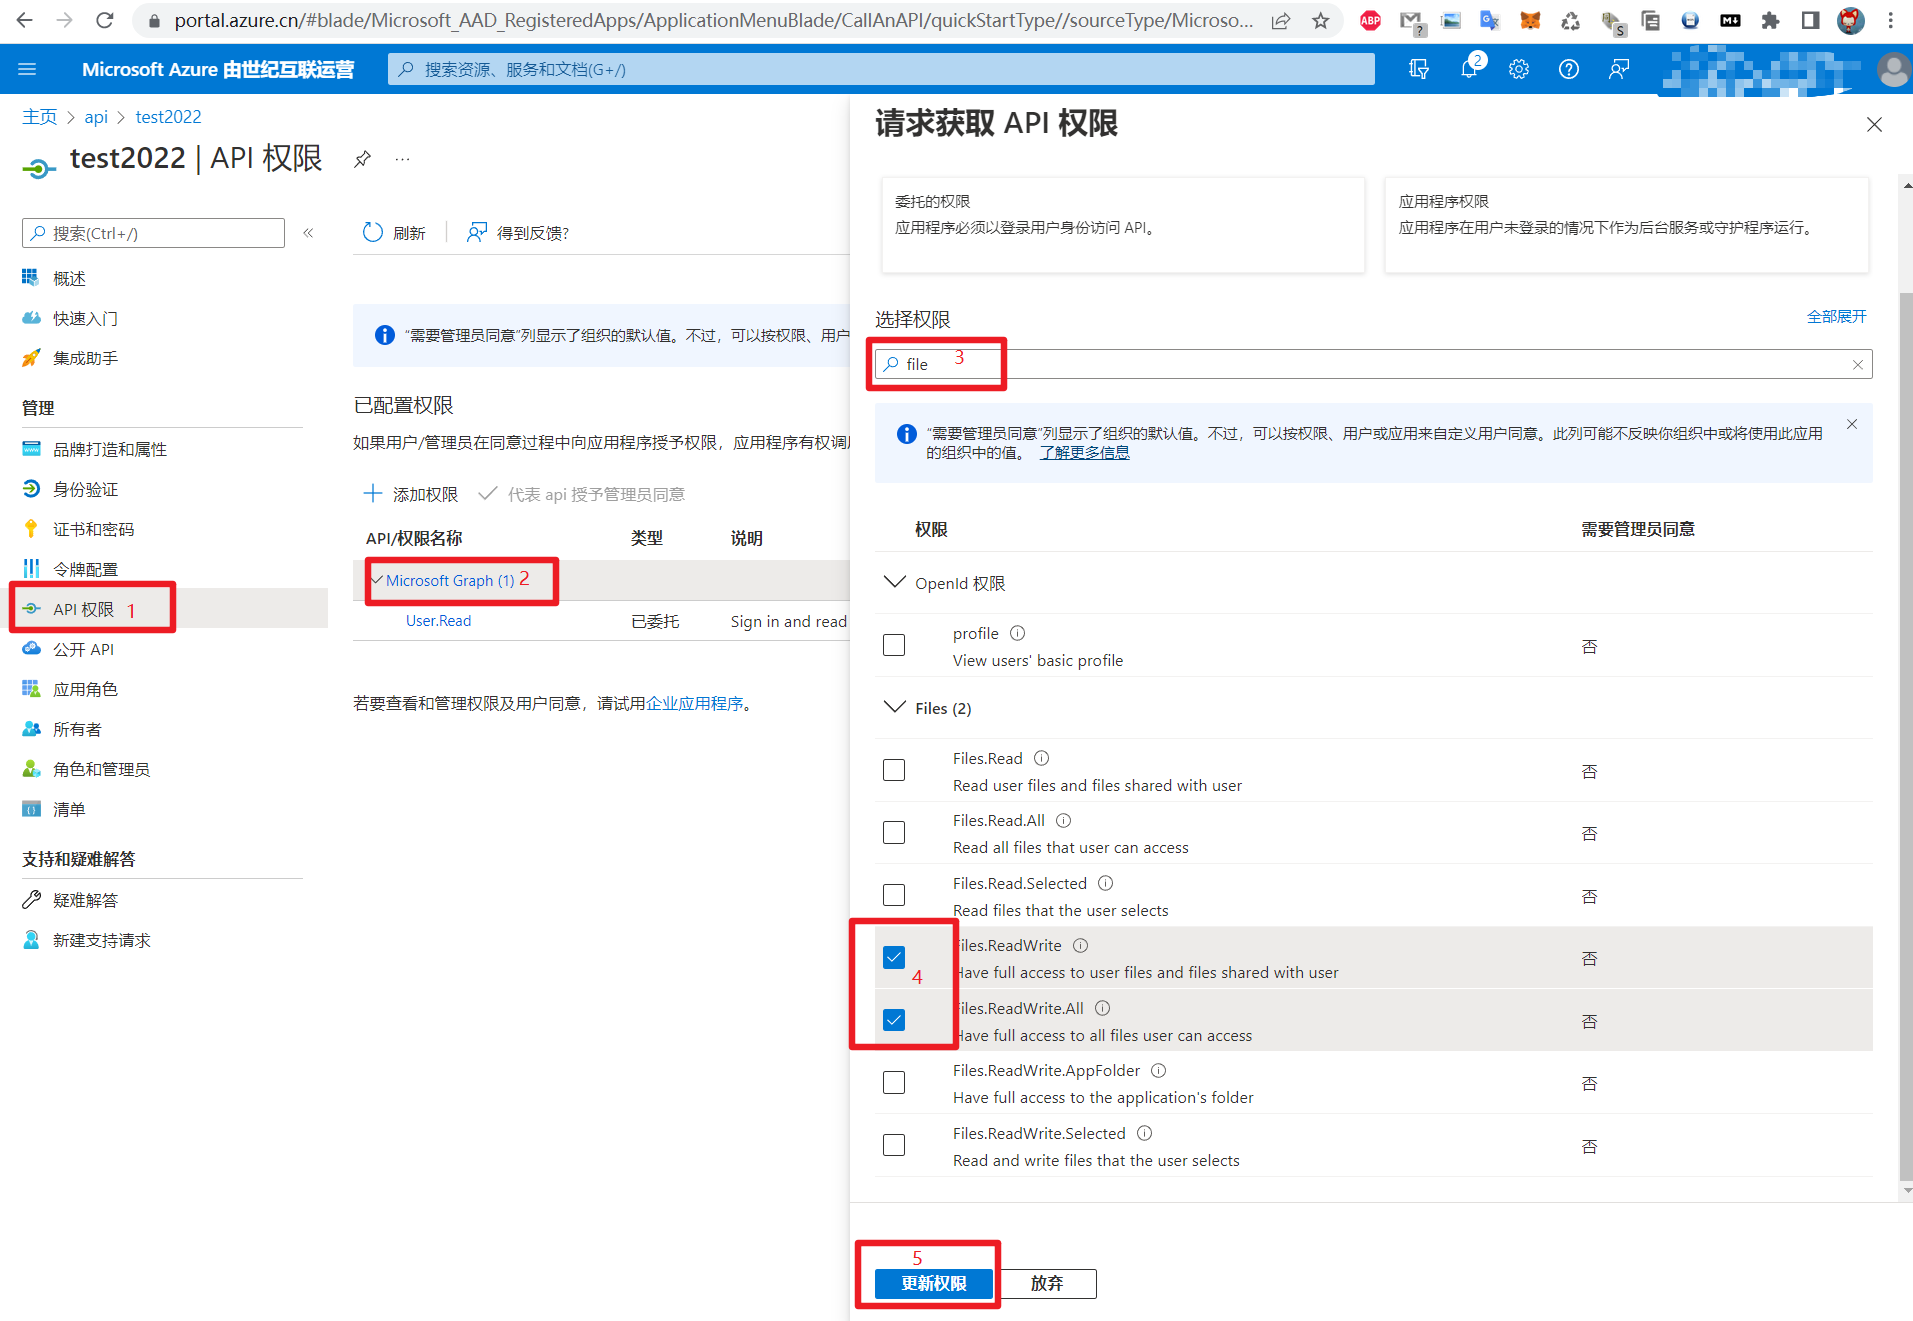
点击左侧的API权限,点击Microsoft Graph (1),右边搜索“file”,勾选第三项Files.Read.Selected和第四项Files.ReadWrite
,点击更新权限

发表回复